Definitely, Magisk system-less root interface has now become the most preferred root option for myriads of Android phones. Magisk ability to bypass Google’s safetyNet check lured users to switch to it from other root exploits. So, the Xiaomi Redmi Note 3 users, who’d enjoy to root their device using Magisk are on the right place. Since, here we’ll be sharing the method to install Magisk on Xiaomi Redmi Note 3.
In fact, certain Xiaomi phones are difficult to get rooted. Specially the security features such as DM-Verity and Mi Cloud lock hinders and prevents any system modifications. However, it’s not totally impossible, though. The how to guide to install Magisk Manager on Redmi Note 3 that we’d provide here should be useful for other Xiaomi devices as well to a little extend. Read On..
Pre-Requisites
- Make sure latest official TWRP for Redmi Note 3 (Kenzo) is installed on your device.
- Download Flashable Magisk zip file and Magisk Manager apk(optional).
- Patience !
(Download Links are provided at the end of the post)
Once you’re ready with all the requirements, let’s move to the step-by-step installation procedure.
Guides you might like regarding the Redmi Note 3
Custom ROMs for Redmi Note 3
Also, make sure you have the latest version of TWRP installed on your Redmi Note 3.
Next, make sure you also backup your Android device data just in case.
Also, you need Root access with Magisk Manager on Redmi Note 3.
You can also check our guide to root Redmi Note 3.
Fresh Instal Magisk on Redmi Note 3
Following steps are applicable for the users installing Magisk on Redmi Note 3 for the first time. That is, the device doesn’t possess any other root and only has just the TWRP installed.
Flash Magisk zip via TWRP
- Download the latest Magisk zip file
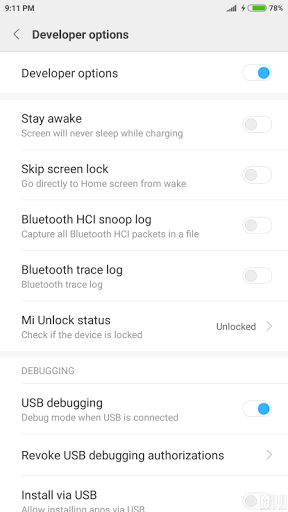
- Turn on OEM unlock from developer option(tap MiUI version tab seven times and find developer option in additional option).

- Sign out of your Mi account.(This step and the above one are very important).
- Switch off the device.
- Now start your phone in Fastboot method (power button and volume down button simultaneously).
- Reboot to TWRP recovery.
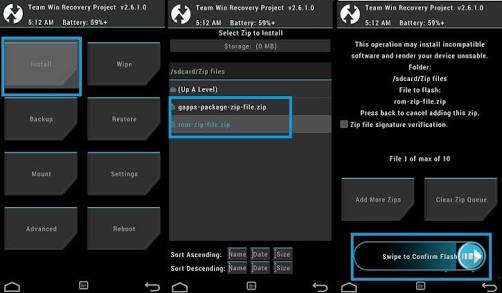
- In recovery, tap on the Install option.
- Choose the Magisk flashable zip file and swipe to confirm flash.

- Reboot (first reboot takes normally 15-20 min finish).
- On successful installation and reboot Magisk logo would appear on your app drawer.
NB: Wipe Cache and Dalvik-Cache before and after flashing the Magisk.
Switch to Magisk Manager from SuperSu on Redmi Note 3
In case if you already have a root access such as SuperSu. And, want to install Magisk follow the below given steps.
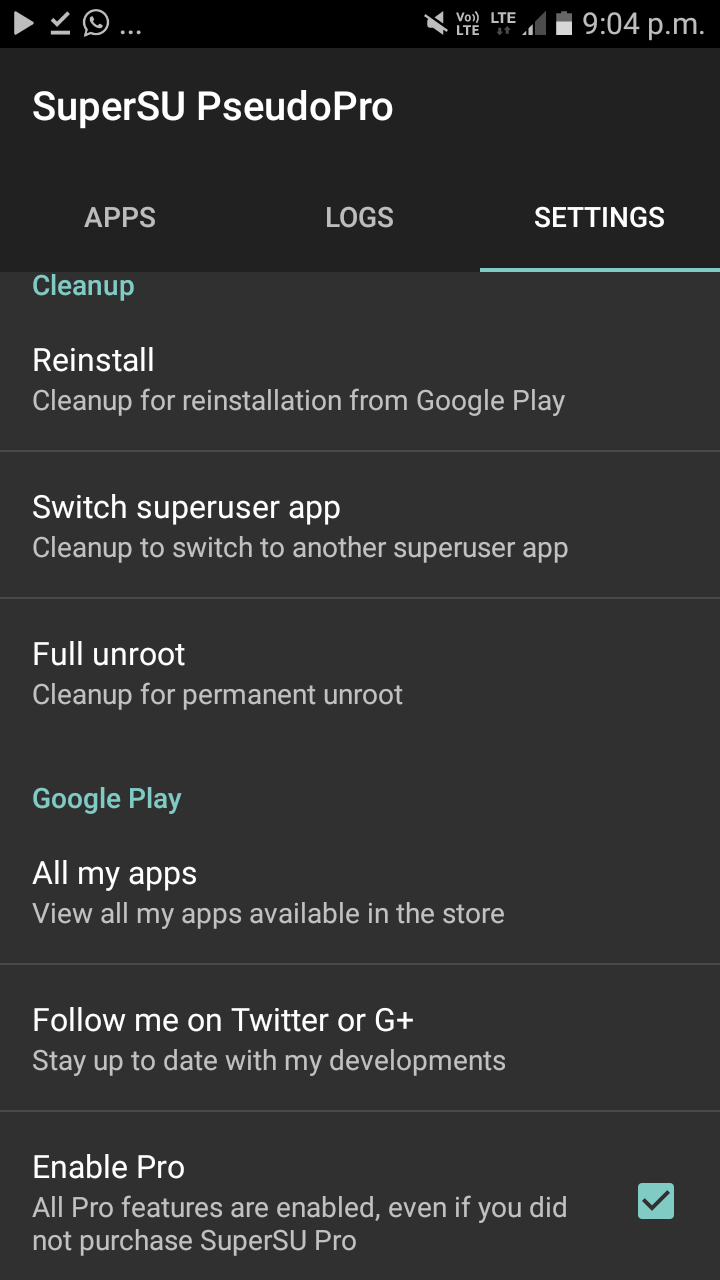
- Remove SuperSu: Go to SuperSU app settings and fully unroot your device. Click on “full unroot” and then check the following options. But, click “NO” when it asks you to uninstall TWRP.

- Let’s the device get rebooted. The SuperSu binary would’ve now clean uninstalled from the system.
- After completing the above steps. Just proceed with the procedure used for fresh installation of the magisk Manager that we’ve given already (1st guide).
Downloads
Official TWRP 3.1.1 for Xiaomi Redmi Note 3: Download
Magisk v14.zip: Download
Magisk Manager v5.4.0: Download
Uninstall Magisk
For uninstalling Magisk in case if it misbehaves, flash the below file via TWRP.
Magisk Uninstaller: Download
You might like to check custom ROMs for Redmi Note 3
Best Android Oreo ROMs for Xiaomi Redmi Note 4
Best Custom ROMs for Redmi Note 4 that you should look
Best custom ROMs for Xiaomi Redmi 4
Best custom ROMs for Redmi 2 2018
 Best Custom ROMs for Xiaomi Redmi 5A (2018)

