OnePlus 9 is the current most premium flagship by the company debuted last month. The series power Android 11 coupled with Oppo‘s Oxygen OS 11 skin on top. The smartphones are known for being all-rounder but providing exceptional camera quality and battery backup. In fact, the series has sold for about 300 million yuan worth in the first sale in China. This is not just it, the best part is the OnePlus phone guarantee does not get void on rooting. Keep scrolling to know how you can root OnePlus 9 and OnePlus 9 pro.

Must see: Download OnePlus 9 Live wallpapers for any Android Phone
Note: GoAndroid in no way is responsible for any kind of loss or damage to your device and data while rooting OnePlus 9 or OnePlus 9 pro.
Before moving ahead with rotting your Android smartphone, make sure to follow these below steps.
Prerequisites
✔ Your smartphone must be sufficiently charged up to (at least 75 %), If not, then there is a high risk of been stuck in between the process.
✔ Take full Back up of your smartphone.
✔ Make sure to disable all security Locks on your device.
✔ Make sure your phone Bootloader is unlocked.
✔ You need a PC to perform the Commands.
✔ This guide is only for rooting OnePlus 9 device. Do not try this method on any other smartphone. otherwise, your phone may become unusable and dead.
Downloads
⇓ Download Latest Version of Magisk App
⇓ Download OnePlus USB Drivers
⇓ Download SDK Platform Tools
How to Root OnePlus 9 and 9 Pro
Magisk root method is reliable and safest method to root any Android smartphone. What makes it the most preferable is that you will receive the OTA update, and you will be able to use banking apps without any problems.
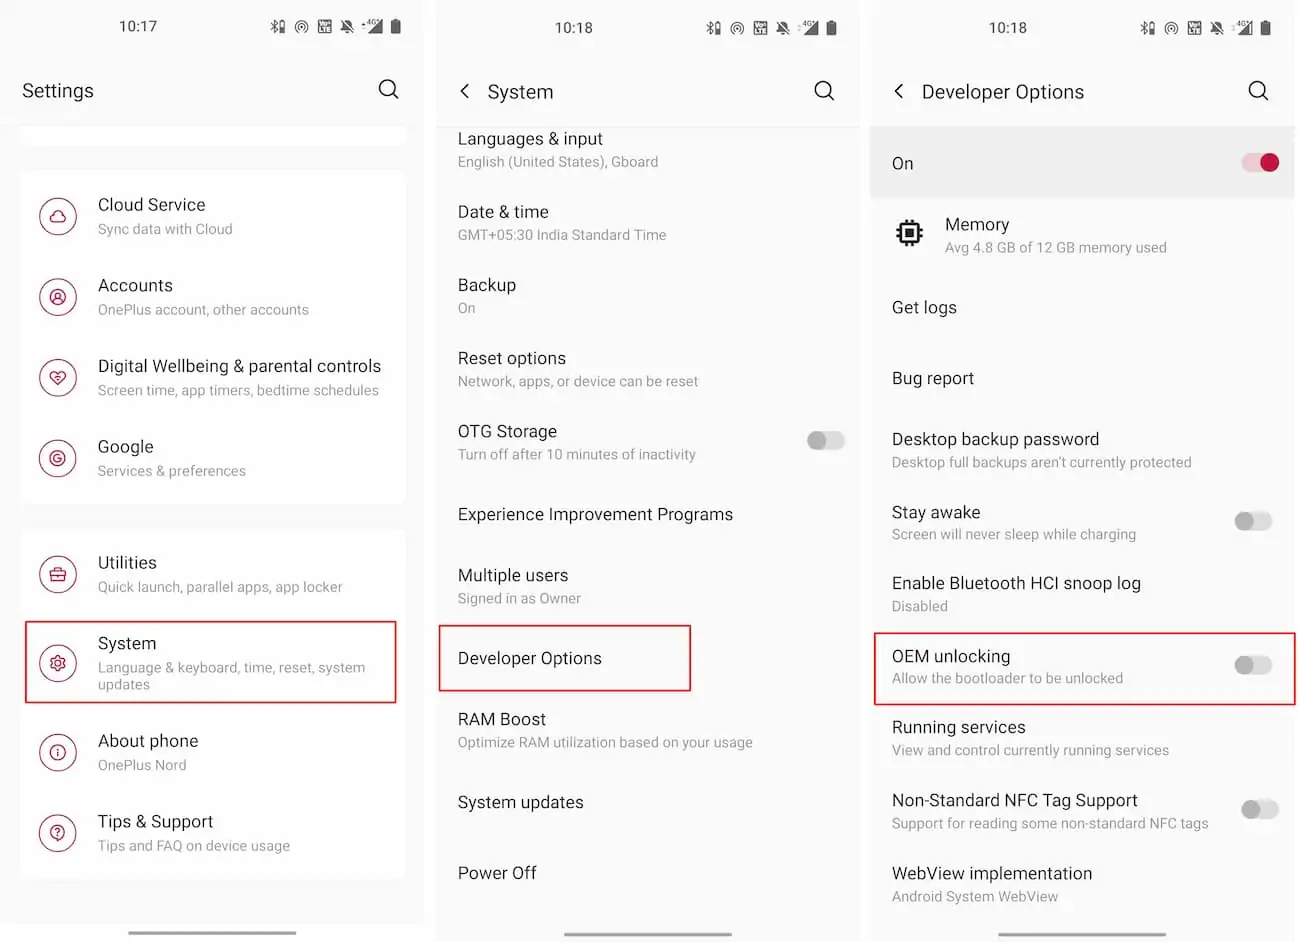
Step 1: Enable OEM Unlocking
- Go to Settings > About Phone > Tap on Build number 5-6 times.
- Now go Back > System > Developer options > enable “OEM Unlocking” and “USB debugging”.
- Just in case, the OEM unlocking option is not available, make sure that you have logged into your Google account and you have an active internet connection.
Step 2: Unlock Bootloader
- Connect your smartphone device to the PC via original USB cable.
- Open the “Platform tools” folder and type “cmd” in the address bar and press enter, a command window will follow.
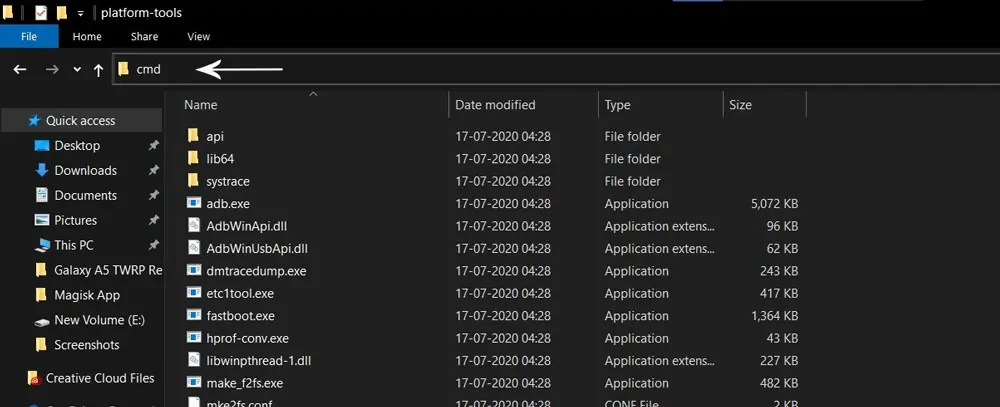
- On the command window, type “fastboot devices” command. The connected devices will show up, Press enter.
- Now, type the “adb reboot bootloader” command to boot your smartphone. Again, hit the enter button.
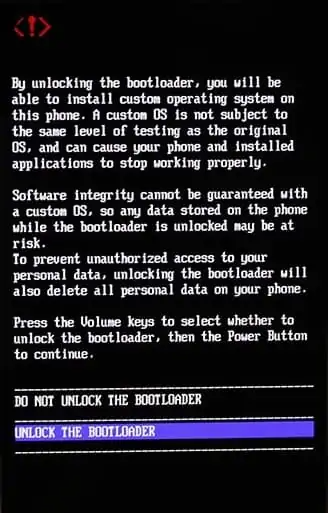
- To Unlock the Bootloader type “fastboot flashing unlock” command. This particular step will wipe out all your data. Press enter key again.
- Now press the Volume buttons to move the selector to “Unlock the Bootloader” and press the power button to confirm. Your phone will freshly bootup.
Also read: How to install TWRP recovery and Root OnePlus 8 using Magisk
Step 3: Install Magisk App
- Download the Magisk App on your phone from the link above.
- Now, extract the downloaded Stock Boot Image zip file.
- Copy “boot.img” file from the extracted folder and transfer it to your phone’s internal storage.
- Install Magisk App apk file on your device. Open and Install the app.
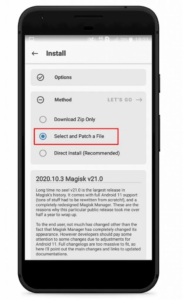
- Now, tap on the “Select and Patch a File” option and Locate the boot.img file. Wait until Magisk patches the boot image. The patched file can be found in the Downloads folder.
- Again, Rename magisk_patched.ing to boot.img.
- Now Copy that renamed file to your PC/Laptop.
Step 4: Replace current boot image with Magisk patched image
- Now again return to the Command window and type “adb reboot bootloader” command to boot the device into fastboot mode.
- After this, type the “fastboot flash boot boot.img” command to flash the patched boot image file into your phone.
- Once this process completes, again type the “fastboot reboot” command.
- Open the Magisk App and check the Root status.
- Moreover, You can verify if your rooted smartphone passes SafetyNet by pressing the “Check SafetyNet” button in Magisk App.
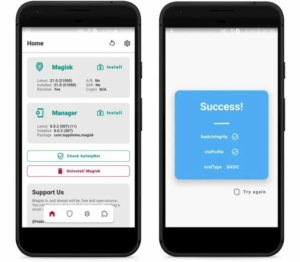
Hope you’ve successfully rooted your respective OnePlus 9 device. Still, if there is any problem following this method kindly tell us via comments below we will try to help you out. Stay tuned for more guides.
