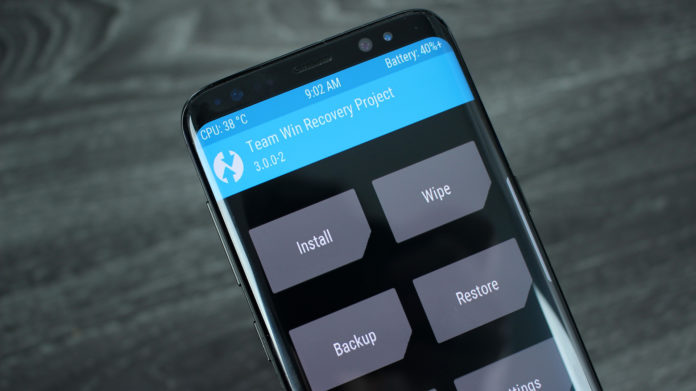
Android is the pinnacle of OS customization that gives unlimited freedom & power to users. No other OS can get even near to the freedom Android offers. However, the door to customization cannot be opened without its key. And the very first step to unleashing that freedom is by installing a custom recovery. Today, we’ll walk you through a quick procedure to flash the most widely used custom recovery, TWRP, onto the almighty Galaxy S8. We’ve got some tips and tricks for the Galaxy S8 here.
Advantages and Disadvantages of installing TWRP Recovery
As soon as you install TWRP, all vistas and possibilities of personalization will be opened to you. Be it, kernels, custom ROMs, mods, removing bloatware, getting Nandroid backups, or whatever you can think of. So let’s get the first step right. In plain words, TWRP will install custom ROMs, ZIP files on your Galaxy S8.
Like all other things, Installing a custom recovery too has its advantages and disadvantages. We mentioned some advantages above. The main disadvantage with it is that it will void your warranty. TWRP is a third party recovery. And replacing the stock Galaxy S8 recovery with it is an unofficial procedure and it could trip Samsung KNOX.
So you might want to think twice if you are going to walk into a service center with TWRP loaded. The other negative aspect is that it might brick your device if not done properly. This can be avoided by following the steps carefully.
Great, Now that we have mentioned positives and negatives, we will show you the procedure to install TWRP with the help of your PC. There will be some prerequisites that will help you to get ready for the steps coming ahead.
Pre-requisites before installing TWRP Recovery on your phone
- First of all, you should charge your phone completely
- You should ensure Galaxy S8 drivers are installed on your PC. For that, you can use Samsung KIES.
- It is preferable to backup all data if you have important files on your phone. It’s better to be safe than sorry.
- Enable USB debugging found in Developer options.
- Get Odin for your PC from here and install it.
- Get TWRP Recovery for Galaxy S8 from here.
Once these steps are complete, you have all the goods to do the job and can head on to the main steps of actually installing TWRP on the Galaxy S8.
Easy Steps to Install TWRP Recovery on your Galaxy S8
- Open Odin toolkit that you installed earlier.
- Connect the Galaxy S8 to the PC via USB. Since you installed the drivers, your device will be recognized.
- First of all, Enter Download mode by first turning off your phone. Then pressing volume down + Power + Home button together for a few seconds. Don’t let go until it enters the download mode.
- Now Odin will display the “added” message and the ID:COM will be highlighted in blue. If this does not happen, reinstall USB drivers.
- On Odin, click on AP and load the TWRP recovery.tar file that you downloaded.
- On Odin, click on Options tab, and see to it that Auto Reboot and Re Partition fields are not checked.
- Now click on Start. Odin will handle everything from here and show you a “pass” message in the ID:COM field that will be turned to green.
- It’s done. Now, you can install any amount of custom ROMs kernels, and tweak your Galaxy S8 to your heart’s content. Enjoy!

