Samsung Galaxy Note 8 is the 2017 flagship device of the company. As you might know that Galaxy Note 8 powered with Snapdragon 835 Soc is available in North America, China, Hongkong, and Japan. And in all the other regions Galaxy Note 8 is available with the company’s own Exynos 8895 Soc. In this article, we will guide you how to root Note 8 Exynos variant.

What is Root?
Rooting an Android Phone gives you full access to the entire file system of the operating system. After rooting you becomes the superuser of the phone and control all the hardware by making some changes in the operating system too.
Advantages of using Rooted Device
- Taking full backup and recovery with few taps.
- Ability to install custom ROM, Kernel and Recovery.
- You can remove bloatware from Lenovo K8 Note.
Disadvantages of Rooting
- OTA update won’t surface once your phone becomes rooted.
- Payment apps like Google Pay and others may not work.
Steps to Root Galaxy Note 8
Prerequisites
- Your Galaxy Note 8 must be sufficiently charged up to (at least 75 %).
- Backup all your data.
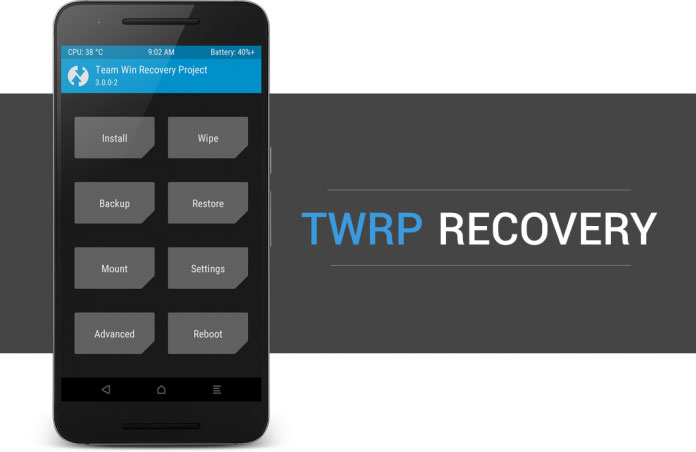
- Download TWRP for your Samsung Galaxy Note: TWRP-3.3.1-0-greatlte.img.tar
- Encryption Disabler: Encryption_Disabler_note 8.zip
- Download the latest Samsung USB drivers.
- Download and install the Odin Tool.
- Magisk latest version Download
Install TWRP on Galaxy Note 8
Proceed with every step carefully, to successfully root Galaxy Note 8.

Also Read: How to Download and Install Google Installer APK
- First and the foremost step is to make sure that you have unlocked the bootloader of your Galaxy Note 8.
- Reboot your device to Download Mode:
- To boot to the Download Mode, first Turn off your phone.
- Then, Press and Hold the Volume Down + Bixby + Power button until the warning screen.
- Now hit volume up button to proceed
- Now, connect your phone with the PC
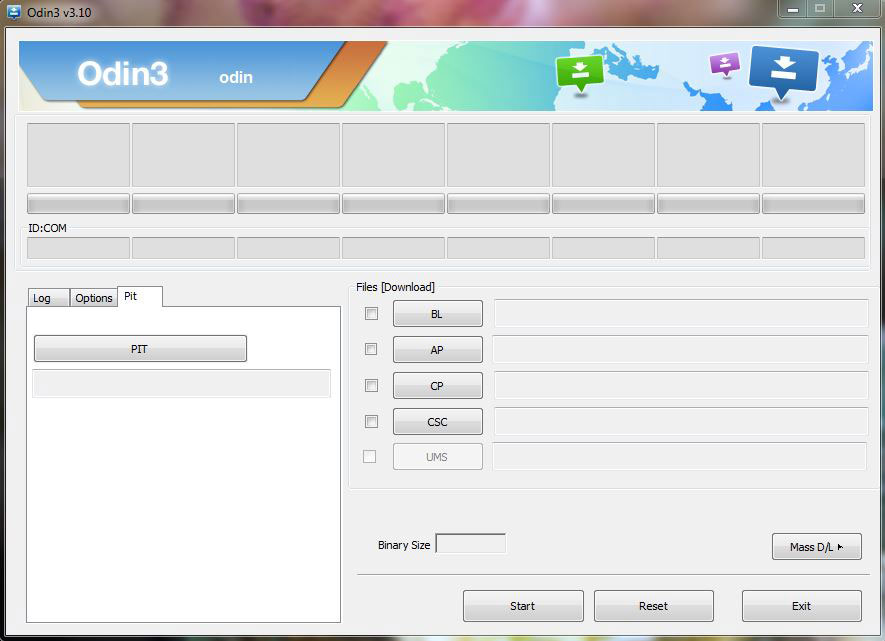
- Run Odin on your PC as an Administrator
- After it is opened hit the AP button, browse and select the appropriate file of Galaxy Note 8 TWRP recovery .tar file and hit the START to flash the recovery.

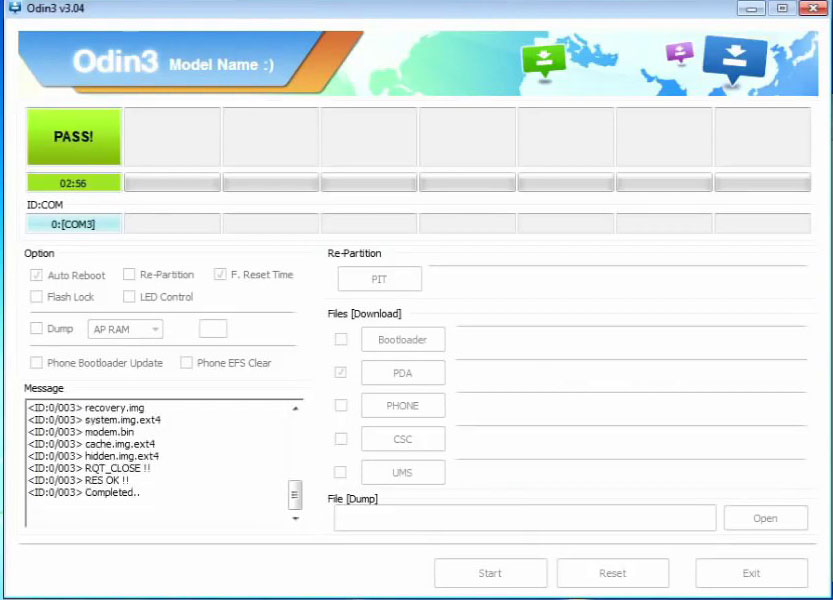
- Now the Odin will do its work and will Pass!! this message on successful execution.

- That’s it, TWRP Recovery is now successfully installed on your phone.
Also Read: How to gain root access on Snapdragon versions of Galaxy S9, S9+ and Note9
Steps to Root Galaxy Note 8
- Copy the Magisk, DM Verity Zip files into your phone’s storage.
- Switch off your handset and reboot into recovery mode by long pressing Volume Up+Bixby button+Power up.
- Select Wipe option-Advance Wipe-Wipe Cache Data.
- Return to the TWRP menu again and select the Install option.
- Locate the Magisk.zip file and swipe to confirm the installation.
- Now locate the dm-verity zip and swipe to confirm the installation.
- After rebooting the device, you will notice that the handset now has the Magisk app.
- You can open the Magisk app to check root access on Galaxy Note 8.
Also Read: How to install Samsung Screen Recorder on Galaxy Note 8 and Galaxy Note 9
I hope you’ve successfully rooted you Samsung Galaxy Note 8. Still, if there is any problem following this method kindly tell us via comments below we will try to help you out. Stay tuned for more guides.
