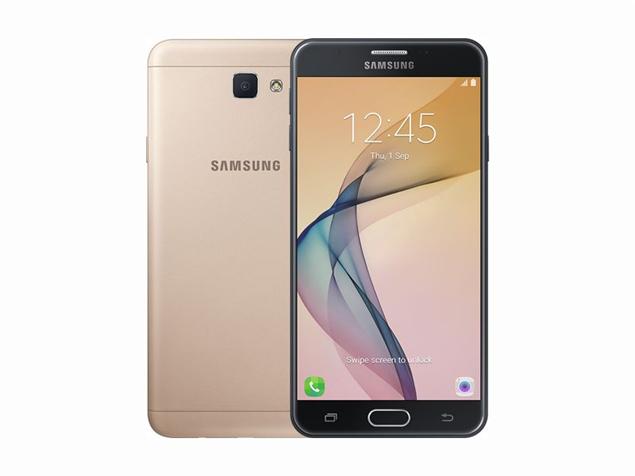
A long ago in 2016 Samsung has launched its budget segment device known as the Samsung Galaxy J7 Prime. The device comes with Android 6.0 Marshmallow out of the box but has received the Android 7.0 Nougat update later. Users are still waiting for the Android Oreo to arrive for it but considering the old records, we can say that Samsung might not update it to Oreo. If you are tired of using that traditional Samsung UI, then we have a way by which you can upgrade your device to the latest Android version. We are here talking about rooting your device, and one must be aware of the fact that rooting voids your handset’s warranty. Let’s learn how to root Galaxy J7 Prime.

Rooting has its advantages and disadvantages anyway we are not here to discuss them. In this specific story, we will be telling you that how you can root Galaxy J7 Prime handset running Android 7.0 Nougat. We all know that Samsung offers a lot of bloatware on its devices which cannot be uninstalled but by rooting one can easily remove those stock apps as well.
This method will work on the following models of the handset:
- Samsung Galaxy J7 Prime SM-G610M(AMO)
- Baltic(SEB)
- Luxembourg(LUX)
- Hungary(XEH)
- Italy(ITV)
- Iran(THR)
- Poland(PLUS)(PLS)
- Egypt(EGY)
- Germany(DBT)
- Spain(PHE)
- Switzerland(AUT)
- Slovakia(ORX)
- France(XEF)
- USA carriers
Steps to root Galaxy J7 Prime
Pre-requisites:
1.) Your Galaxy J7 Prime should have unlocked the bootloader.
2.) There should be around 60-70% charge remaining.
3.) Backup your device.
4.) Your device should be running Android 7.0 Nougat.
5.) Your PC/Laptop should have Odin tools installed.
How to Install TWRP recovery in Galaxy J7 Prime?
1.) Firstly download the TWRP file on your PC whose links are given below.
2.) Samsung device drivers should be on your PC.
3.) Enable USB-debugging on your device and switch off it.
4.) Now enter into download mode by holding Power+Vol down+Home button, after entering it will grant permission here press Vol up.
5.) Connect your device to PC/Laptop by a working USB cable.
6.) Now open Odin tools on PC and after connecting the invention, it will show “added” message.
7.) After getting added select AP/PDA option then locate the TWRP file.
8.) Tick the auto reboot option, and after installation, it will automatically reboot.
How to Install SuperSU to root Galaxy J7 Prime?
1.) First and the first download SuperSU.zip file on your smartphone.
2.) Now switch off your handset and reboot to recovery mode by holding Power+Vol up.
3.) Select Wipe-Advance Wipe-Wipe Cache Data.
4.) Here in TWRP recovery menu, press the Install option and locate the SuperSU.zip file.
5.) Swipe to flash the file and reboot after installation.
6.) Now you will find SuperSU app on your handset.
How to Install Magisk in Samsung Galaxy J7 Prime?
1.) Download the Magisk.zip file in your smartphone.
2.) Switch off your handset and reboot into recovery mode by long pressing Power+Vol up.
3.) Select Wipe option-Advance Wipe-Wipe Cache Data.
4.) Return to TWRP menu again and select Install option.
5.) Locate the Magisk.zip file and swipe to confirm installation.
6.) After rebooting the device, you will notice that the handset now has Magisk app.
Now, your device is rooted, and you can Enjoy it by installing apps.
Downloads
Odin Tool – Download
TWRP recovery – Download
SuperSU.zip -Download
Magisk.zip – Download
That’s it from our guide to install Magisk, TWRP and root Galaxy J7 Prime.
