If you’re using a Samsung device and want root or install custom ROM. Then you have to first flash the Recovery, and TWRP is one of the most popular Recovery for the Android Phones. So if you are looking for a guide to flash TWRP using Odin then you are on the right page. Follow the steps below to install TWRP Recovery on your Samsung Device.

How to Flash TWRP with Odin
Prerequisites
- Make sure you had a Samsung Android Phone.
- Charge your phone up to at least 60% and Backup all your data.
- Download the latest TWRP recovery for your Samsung Android Phone.
- Download and install the latest Samsung USB drivers.
- Download and install the Odin Tool.
- Enable OEM Unlock on your Samsung Phone.
Steps to Install TWRP Recovery using Odin on Samsung SmartPhones
- First and the foremost step is to make sure that you have unlocked the bootloader of your Samsung Phone.
- Reboot your device in Download Mode:
- To boot to the Download Mode, first Turn off your phone.
- Then, Press and Hold the Volume Down + Home + Power button until the warning screen.
- Now hit volume up button to proceed
- Once your phone booted in download mode. Now, connect your phone with the PC
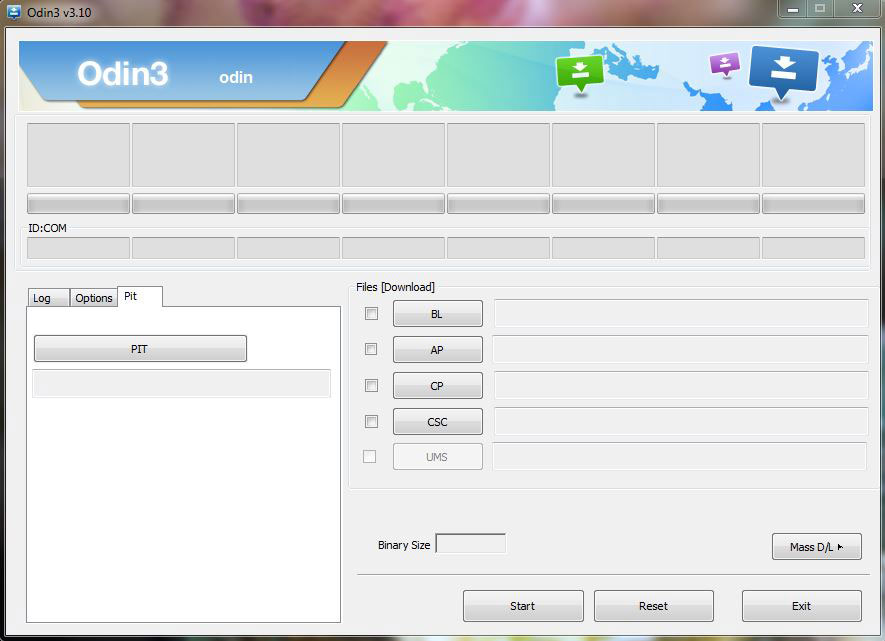
- Run Odin on your PC as an Administrator
- After it is opened hit the AP button, browse and select the appropriate .tar file for TWRP recovery for your Samsung Phone. Then navigate to the options on the left side, then select the auto-reboot option.

- Hit the START button to flash the recovery.
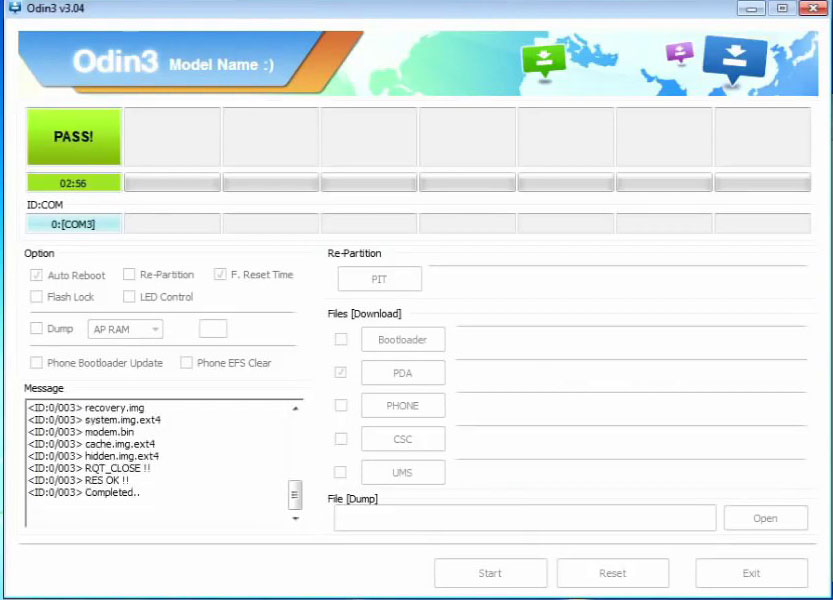
- Now the Odin will do its work and will display “Pass!” message on successful execution and the phone will be rebooted automatically.

- That’s it, TWRP Recovery is now successfully installed on your phone.
Related: How to Install TWRP and Root Galaxy Note 8
We hope you’re successful in flashing the TWRP recovery using ODIN on your Samsung device. If you get any problem while following the above listed method you can tell us via comments below.
