There are a number of keyboards available for Android but none is as good as GBoard, previously Google Keyboard, in terms of the overall experience. It comes with a ton of features and truth to be told, it is confusing for most users to make use of those add-ons. Hence, this post will guide you step by step on how to enable a floating keyboard on GBoard, which is one of the most popular features of this app.

‘Floating keyboard’ feature on keyboard apps became popular during the rise of big-screen smartphones. However, this particular feature made its debut on Gboard, probably the most used keyboard on Android devices only in late 2018. Anyways, only a few numbers of users know the existence of this feature and how to enable it. That is why we have come up with this post to guide users step by step to enable as well as use it.
Related: Best Alternatives for Gboard on Android
Steps to enable floating keyboard on GBoard
- Open any app, in which you need to use the GBoard keyboard app.
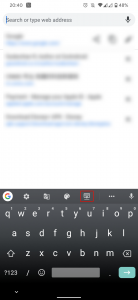
- In our case, we have opened Google Chrome and triggered GBoard by selecting the address bar.
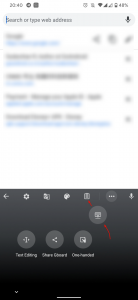
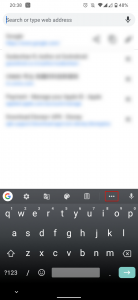
- Now, tap on the three-dot option present in the first row of GBoard.
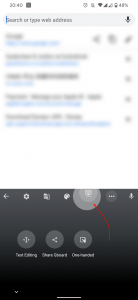
- In the next screen, select the ‘Floating’ option to enable the floating keyboard.
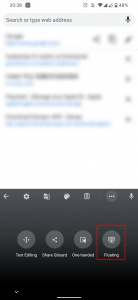
- That is it, you have successfully enabled floating keyboard on GBoard.
- You can now move the keyboard anywhere on the screen by tapping and dragging the icon at the bottom.
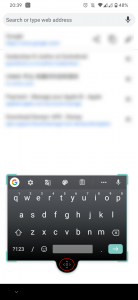
- To disable it, follow the same steps you carried out to enable it.
- If you use the floating keyboard option more often, you can drag it to the quick access row at the top of the GBoard keyboard from the three-dot option.
That said if you still have any doubt or facing difficulties, feel free to mention them in the comment section below. We will try to help to enable the floating keyboard on Gboard as soon as possible.

