The beauty of Android lies in its openness to customization. Needless to say the Android devices out of the box offer various customization options which the user can tweak based on their preference and likings. Moreover, most of the Android OEMs even allow the users to change the system partitions given that they’re ready to bear the aftermath of bootloader unlocking. Hence, in case if you own a Moto G6 or Moto G6 Plus and is in search of how to officially unlock the bootloader so that you can flash custom binaries or recoveries, then this guide might be helpful for you.

It’s pertinent to mention, UNLOCKING THE BOOTLOADER VOIDS WARRANTY. So, be cautious and proceed at your own risk.
Moto G6 and G6 Plus Bootloader Unlock
NOTE: Unlocking the bootloader will Wipe/ factory reset your device, and will delete all personal data from your device such as apps, photos, messages, and settings.
- Make sure to take a backup of your entire device data.
- Download the Minimal ADB on your PC /MAC machine.
- Install the latest Motorola USB Drivers on your desktop.
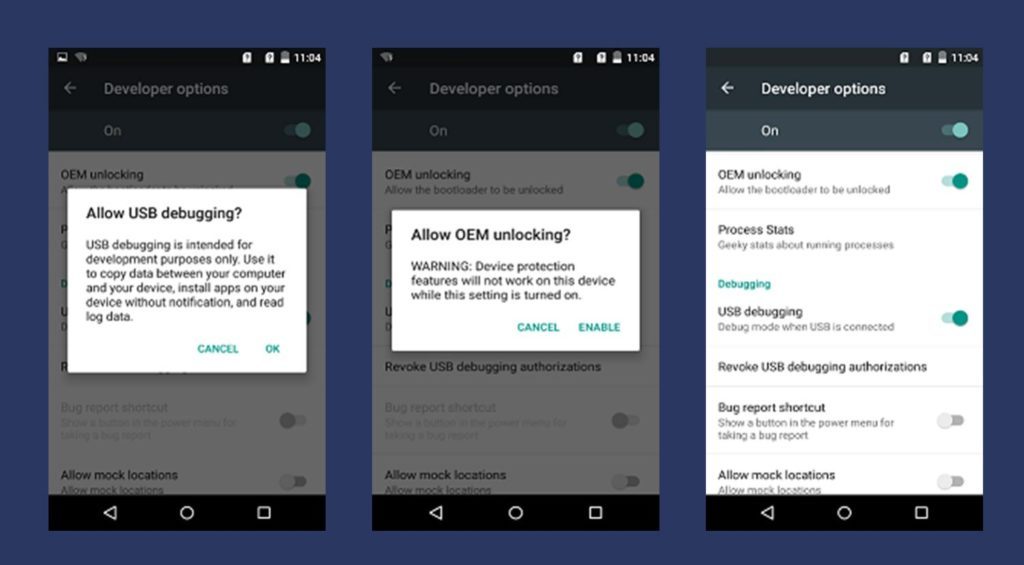
- Go To Settings -> Dev Settings, And Select “Allow OEM Unlock“

- Put your device in fastboot mode (power off, then press the power and volume down buttons simultaneously).
- Open Command Prompt on androidsdk/platform-tools/ (Hold Shift and right click and press open command window here)

- If you have downloaded Minimal ADB and Fastboot Go to C://Program Files/Minimal ADB and Fastboot and open Command Prompt from there.
- Connect your Phone to PC.
- To know whether the PC has detected your device on fastboot, type the following command in Command prompt window:
fastboot devices
- If the device is detected, then enter
fastboot oem get_unlock_data
- You will get a return string. Copy it. [Right Click-Mark- Mark the text by pressing the shift key-Now press Ctrl+C]
- Paste all the lines together in a notepad. Remove the empty spaces.
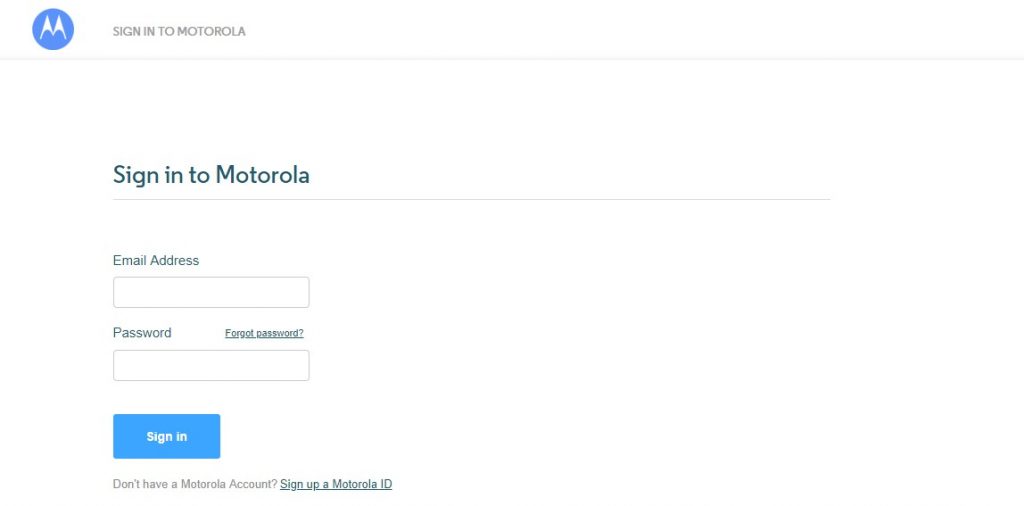
- Now go to the Motorola Site. Sign in using your Google account or Motorola ID. Scroll down the page and paste the copied string in the field from the above step. Then click on ‘Can my device be unlocked?’, after which a “REQUEST UNLOCK KEY” button will appear at the bottom of the page.

- To get your unlock key, select the ‘I Agree’ option.
Note: You will receive an email with your Unlock Key at the email address you used to log in. - Important – Copy the 20-character key that Motorola sent you via email. Make sure your device is connected.
- Then again in command prompt enter following commands:
fastboot devices (To check your device is connected)
- Then enter:
fastboot oem unlock UNLOCK_KEY
NOTE: In the above command, replace the word ‘UNLOCK_KEY’ with the unlock code that you got via email. Then hit enter and the unlocking process should begin. Wait for a while and soon you’ll see ‘Bootloader Unlocked’ warning on your Moto G6/G6+.
Relock
Upon completion of the above steps successfully, you will have your device’s bootloader unlocked. In case if you need to relock the bootloader for the warranty purpose. You can easily revert to a normal state by entering following commands in fastboot mode.
fastboot oem lock
Before re-locking the bootloader make sure you’ve reinstalled the official firmware and every custom modifications are removed such as TWRP, root and so on.
We hope you successfully unlocked bootloader of Moto G6 and Moto G6 Plus following this guide. Now, you can root and install TWRP recovery on Moto G6 and Moto G6 Plus. Stay connected for more guides like this!
